The Crafty+ has only been on the scene for a while but dry herb and concentrate users have been very pleased with how Storz & Bickel’s newest device has been performing. The combination convection-conduction heating system produces tasty and thick vapor, while the improved battery keeps sessions going longer than ever.
Easy to use and enjoy the Crafty+ is a fantastic vape for on-the-go users, but to get the most out of it you’ll have to keep it clean.
Keeping your Crafty+ (or any vaporizer device) clean is the best way to ensure you’re getting consistent performance, pure vapor, and conserving material. A clean vaporizer is a well-performing one, and since you’ve already spent your hard-earned money on the device, why not ensure it’s in good shape?
We’re going to dive into just how you can clean your Crafty+ to not only provide the best vapor you’ve ever experienced, but outlast it’s warranty as well.
Best Crafty+ Alternative by Storz & Bickel - The Volcano Vaporizer.
What You’ll Need To Clean The Crafty+
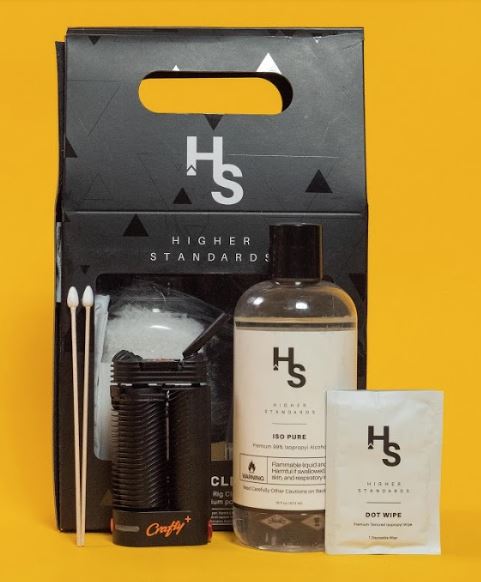
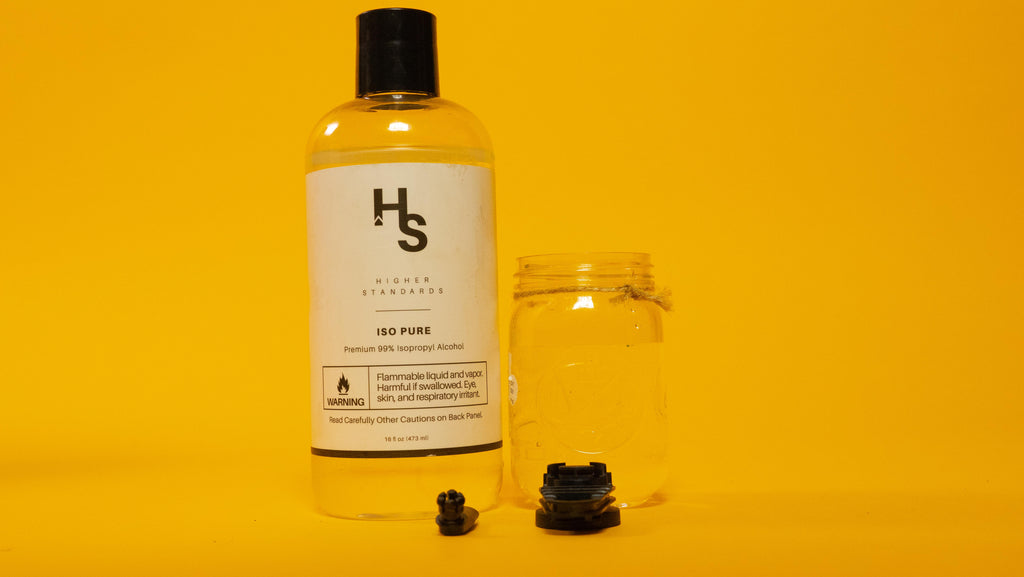
To give your Crafty+ a nice detailing you’ll need some cotton buds, high percentage isopropyl alcohol, and a bowl/jar that is big enough to soak all of the device’s removable parts.
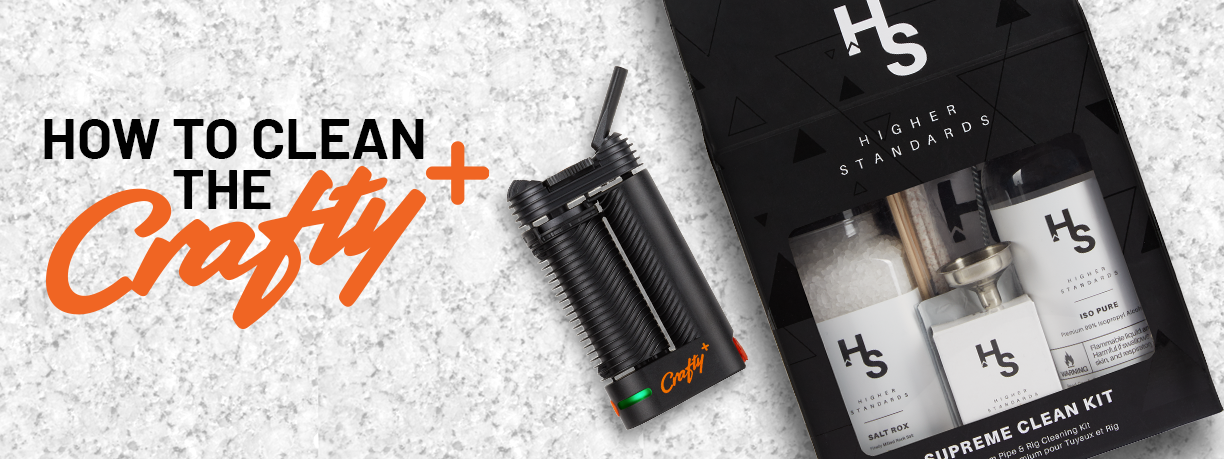
We’re using the Higher Standards cleaning supplies for our cleaning session, which has everything you need to give your device a thorough cleaning. Our favorite tools from this kit are the ISO Pure, Pipe Stix, the Dot Wipes.
Having the right tools make all the difference for your cleaning sessions, so make sure you’re equipped for whatever resin might be in your way!
How To Clean Your Crafty+ Vaporizer
The first step is using the provided tools to remove all, well, removable parts from your Crafty+ Vaporizer. Unscrew the cooling unit from the top of the vape and rotate the mouthpiece until it pops out, and remove the blue seal ring around it, like so:
Take the cap lock off of your Crafty+ by separating the top portion of the cooling unit from the base, and use the included tool to remove the blue seal rings and take out the chamber screen:
Take everything (*except* the cap lock and seal rings) and soak them in isopropyl alcohol for 30 minutes. Do not soak the pieces for more than one hour.
While the cooling unit is soaking, turn your Crafty+ upside down and brush out any dry herb or concentrate residue. We used the Higher Standards Pipe Stix to make sure all our residue was removed and then lightly wiped the inside of the heating chamber with the Dot Wipes:
After the chamber of the Crafty+ is cleaned out and the removable parts have had a chance to soak, rinse all parts with warm water and dry with the High Standards Resin Rags before reassembling. It is crucial to make sure everything is dry, as any moisture trapped can potentially be harmful to the device.
The final step is a simple burn off: set your Crafty+ to the max temperature of 410°F and run a few cycles. Once you can’t smell any isopropyl alcohol your Crafty+ is good to go!
How Often Should I Clean The Crafty+?
Storz & Bickel recommends that you clean the Crafty+ every two weeks, but that depends on your usage and material. Heavy concentrate users will want to give their device a weekly cleaning, while light dry herb users could get by on every month or so.
The rule of thumb to use with vaporizers is you want them to be clean enough that you don’t taste your last session. Giving your Crafty+ an “empty out” after each session is a great way to stay ahead of the cleanliness curve and save yourself from a resin-filled deep clean later down the road.
Conclusion
Hopefully, this guide has helped you realize how to take care of your Crafty+ Vaporizer and you can enjoy fresh sessions every time you power the device on.
Let us know in the comments how you take care of your Crafty+ and we might add it to the article!
Other Portable Vaporizers on High Demand
1. AUXO Cenote

